Relax soldier, Paris has fallen. You deserve a rest!
Force Grubber versus Hades Rangers in an armoured engagement
Axis Forces:
Captain Bryan Talbot, leading Force Grubberfought an armoured engagement against...
Allies Forces:
Private Daniel Talbot, leading Hades RangersResult: Axis victory!
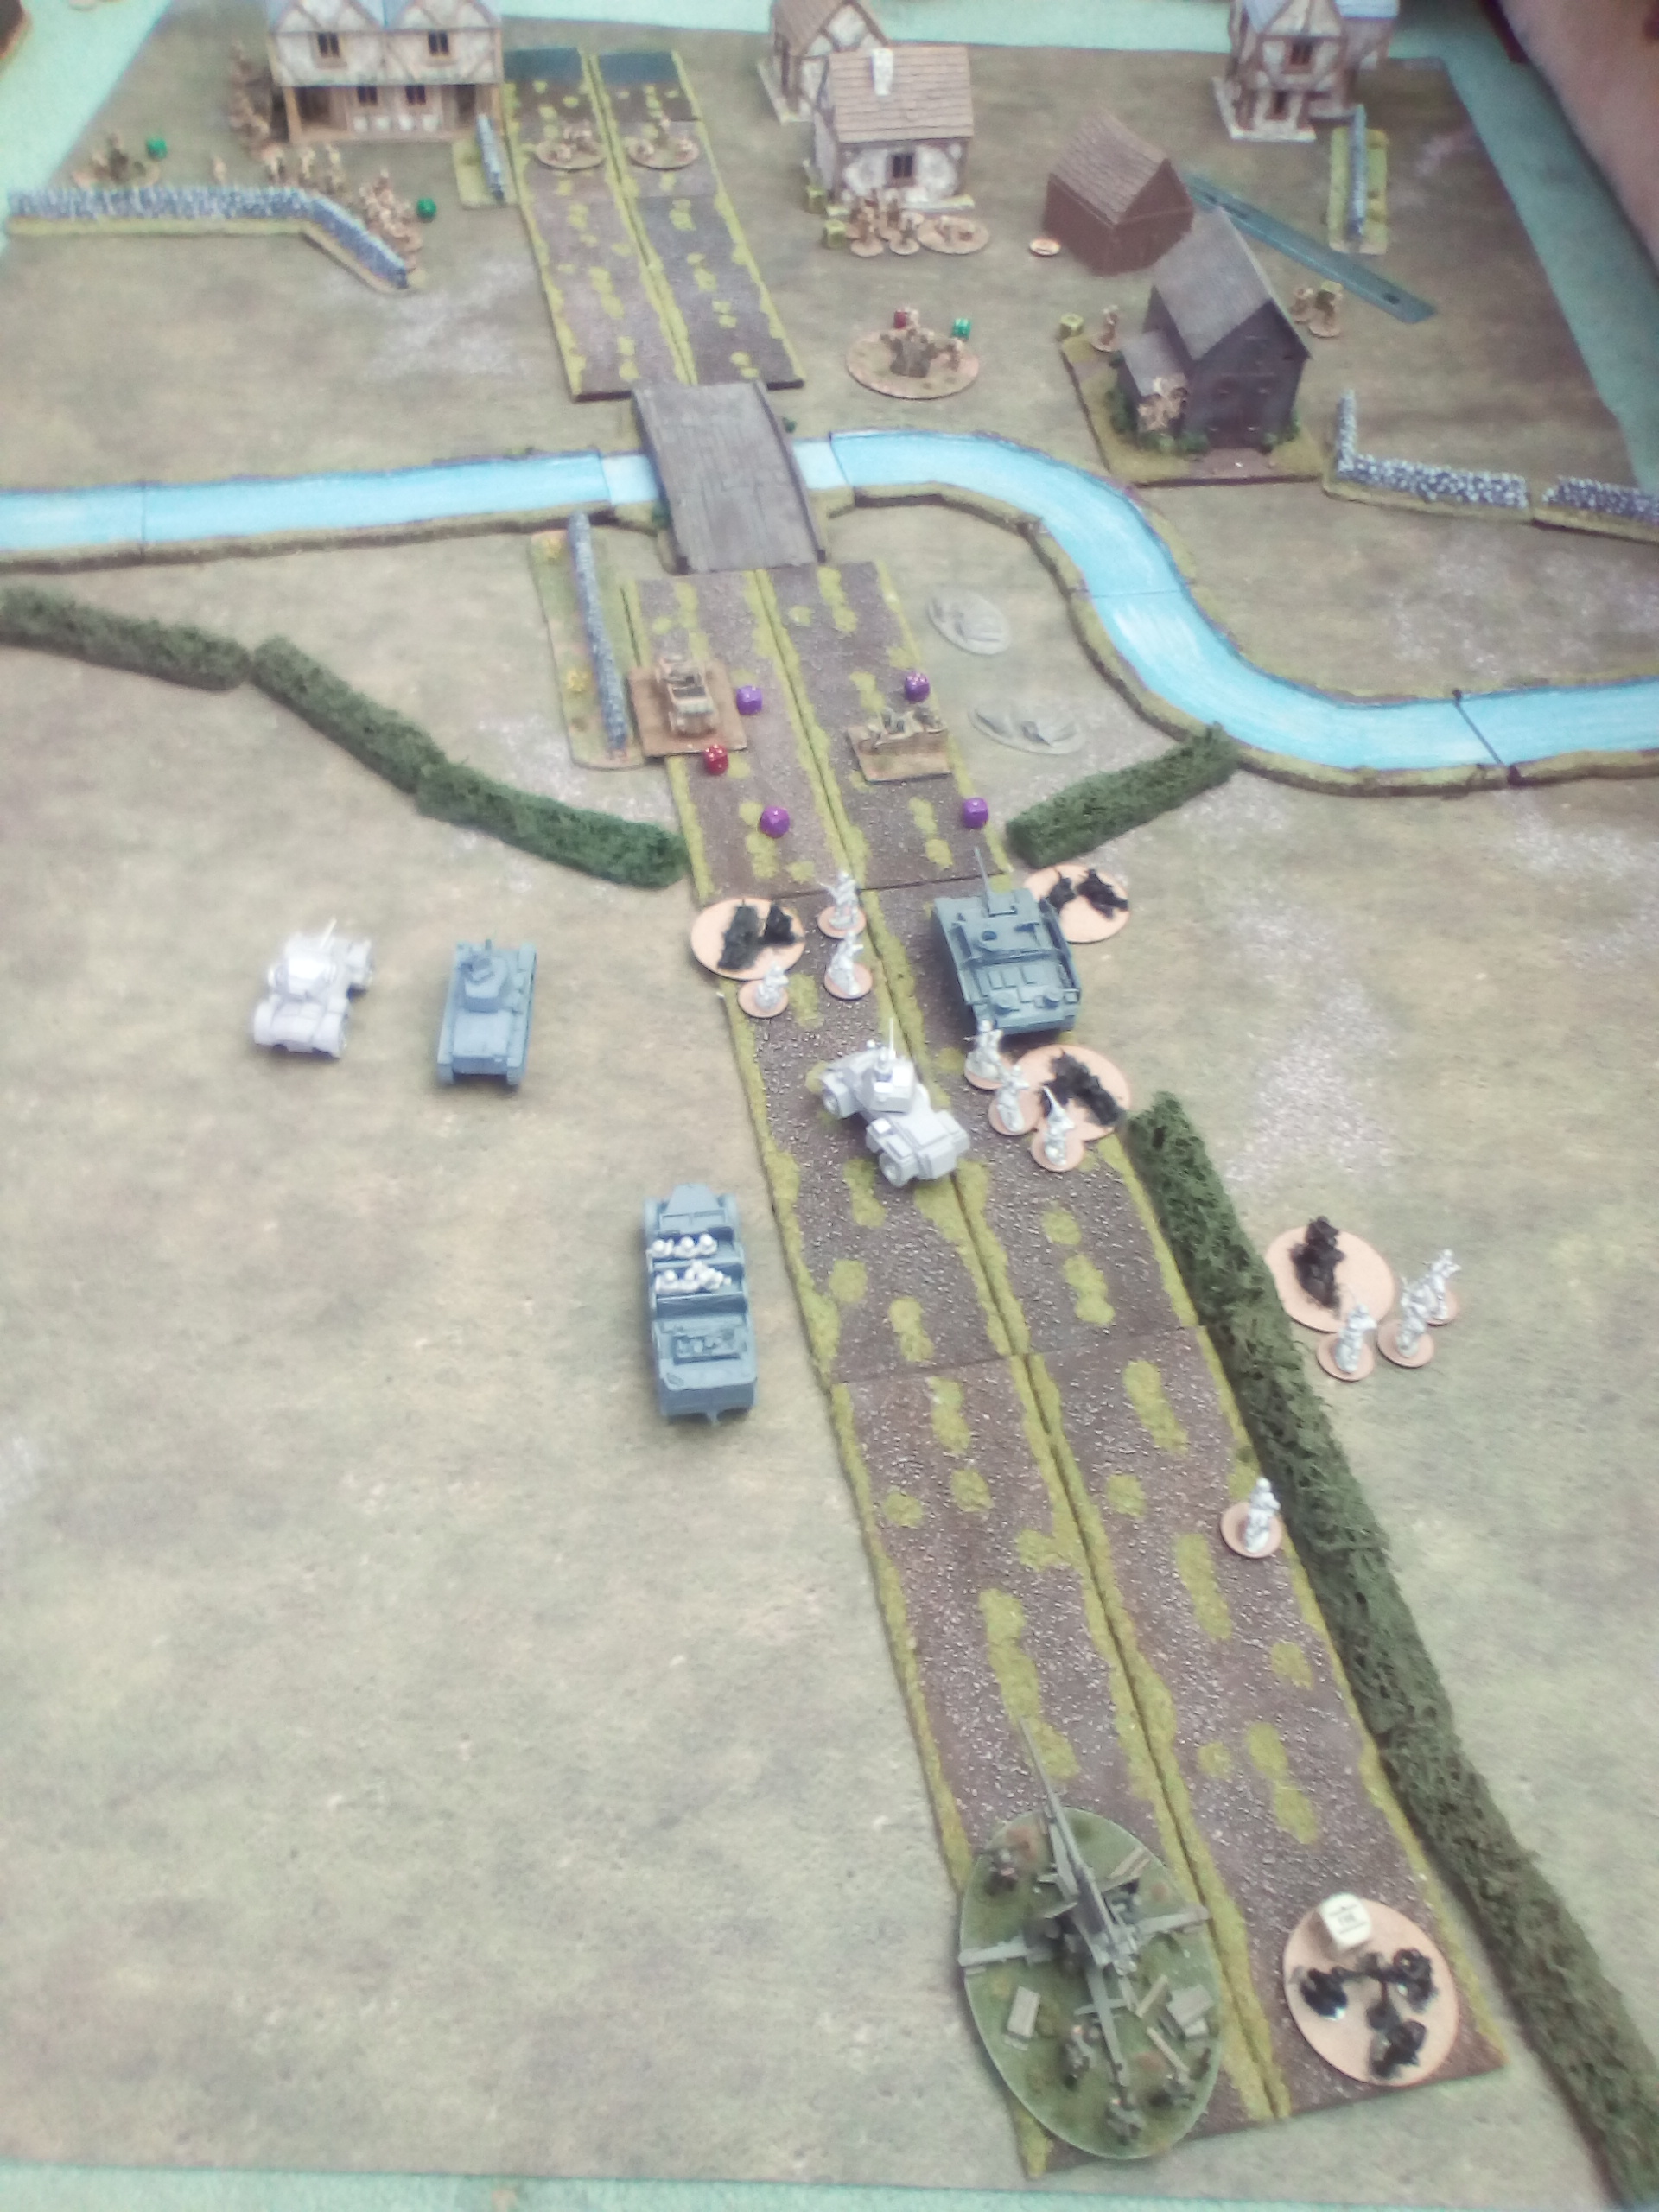
La Fiere Bridge; Scenario 19
As a set scenario in the D-Day Overlord campaign book the battlefield was laid out as near as possible to the map in the book as page 128. The US Airborne forces were detailed in the scenario description. The Axis forces were mostly detailed in the description, the remainder of the 900 points were chosen as follows:
a) 2 x Reg Stug III ausf G c/w shurzen side armour.
b) 1 x Reg Kubelwagon c/w MG42 as the transport for the Axis Captain officer.
c) 1 x Kattenkrad for the Sniper team
d) 3 x Ostruppen squads of 5 men c/w a LMG.
The opening phase of the scenario was notable as the Allied player approx half his troops on the field as either dug in or within buildings – all were hidden. Most notable we the 57mm AT gun almost by the bridge (and proved to be a bit of a surprise to the Axis forces). As the Axis player, decided against having any troops arrive from the reserve as the tracked vehicles could still move through the flooded areas as it was only classed as rough terrain, along with infantry on foot – all with single moves. The wheeled vehicles had to remain on the roadway.
Turn one: Leading the way the Axis Captain sped forwards in the Kubelwagon by urging the driver onwards deliberately driving into the minefield – which turned out to be an anti-personnel minefield only... However the hidden AT gun decided to shoot at the Kubelwagon and scoring a minor hit managed to hit the vehicle and blew off one of the rear driving wheels so immobilising the vehicle. As the Kubel slid to a halt, the Captain within activated and using the MG42 applied 3 pin markers to the crew of the Allied AT gun. Having located the Allied AT gun and mortar the remainder of the Axis forces arrived and with the tracked vehicles making single moves in the flooded area then firing with HE shells causing a number of Allied squads causing multiple units to have pin markers. The Allied forces in response when realising they were mostly out of range tried to use their mortar against one of the smaller tanks but missed, in response the Axis mortar started to zero on the Allied mortar team. The 88mm Flak gun fired at the large Inn type building near the Allied start line as within which were numerous squads. Unfortunately the 88mm missed this time and alerted some of those within of the need to relocate and not to bunch up...
Turn two: the Allied player using the Major activated numerous units near to the bridge and tried to hit one of the 35R tanks but the shell bounced off the front armour much to the frustration of the Allied forces. In response both 35Rs and the H39 focused their MMGs on to the Airborne AT gun killing two of the 3 man team and overloading it with pin markers. Both mortars continued to exchange shots as zeroing in to their targets. The three Osttruppen squads advanced through the rough terrain (as single moves) and fired with the longer ranged MG42, halting just out with the range of the Airborne team with the BARs and making their rolls applied enough hits and pin markers to cause the Airborne team to disperse with their hands in the air.
Turn three: realising the Airborne strength was with very close ranged weapons the Axis team deliberately hung back and relied upon superior fire-power and their better armour to concentrate their fire on the main Airborne Squads all out with the bazooka range... Using all 5 tanks with their MMGs, the LMG of the squads depleted each of the larger US Airborne squads focusing on the bridge.
Turn four: the Allied reserves now started to arrive at the bridge but only filled the now vacant spaces in the Allied line... The Axis forces called in an artillery strike which failed to arrive on time... The Axis sniper completed and excellent shot by killing the Allied Major as he was seeking to motivate his remaining squads. The Axis armour remained stationary using their MMGs to rake the Airborne troops causing three small squads to flee/surrender.
Turn five: The last of the Allied forces were drivin from the table and the game.
Conclusion: allowing the Axis player to have items/weapons which can; either easily in most cases and only just in some, out range the Allied team’s weapons was an easy recognise and greatly affected the tactics used – one of standoff and shoot and have enough forces able to move up to the bridge on the final turn. In this instance the vehicle mounted MMGs proved a good investment well spent...