Relax soldier, Paris has fallen. You deserve a rest!
Force Grubber versus 52nd Highland Div in an armoured engagement
Axis Forces:
Captain Bryan Talbot, leading Force Grubberfought an armoured engagement against...
Allies Forces:
Private Ethan Talbot, leading 52nd Highland DivResult: Axis victory!
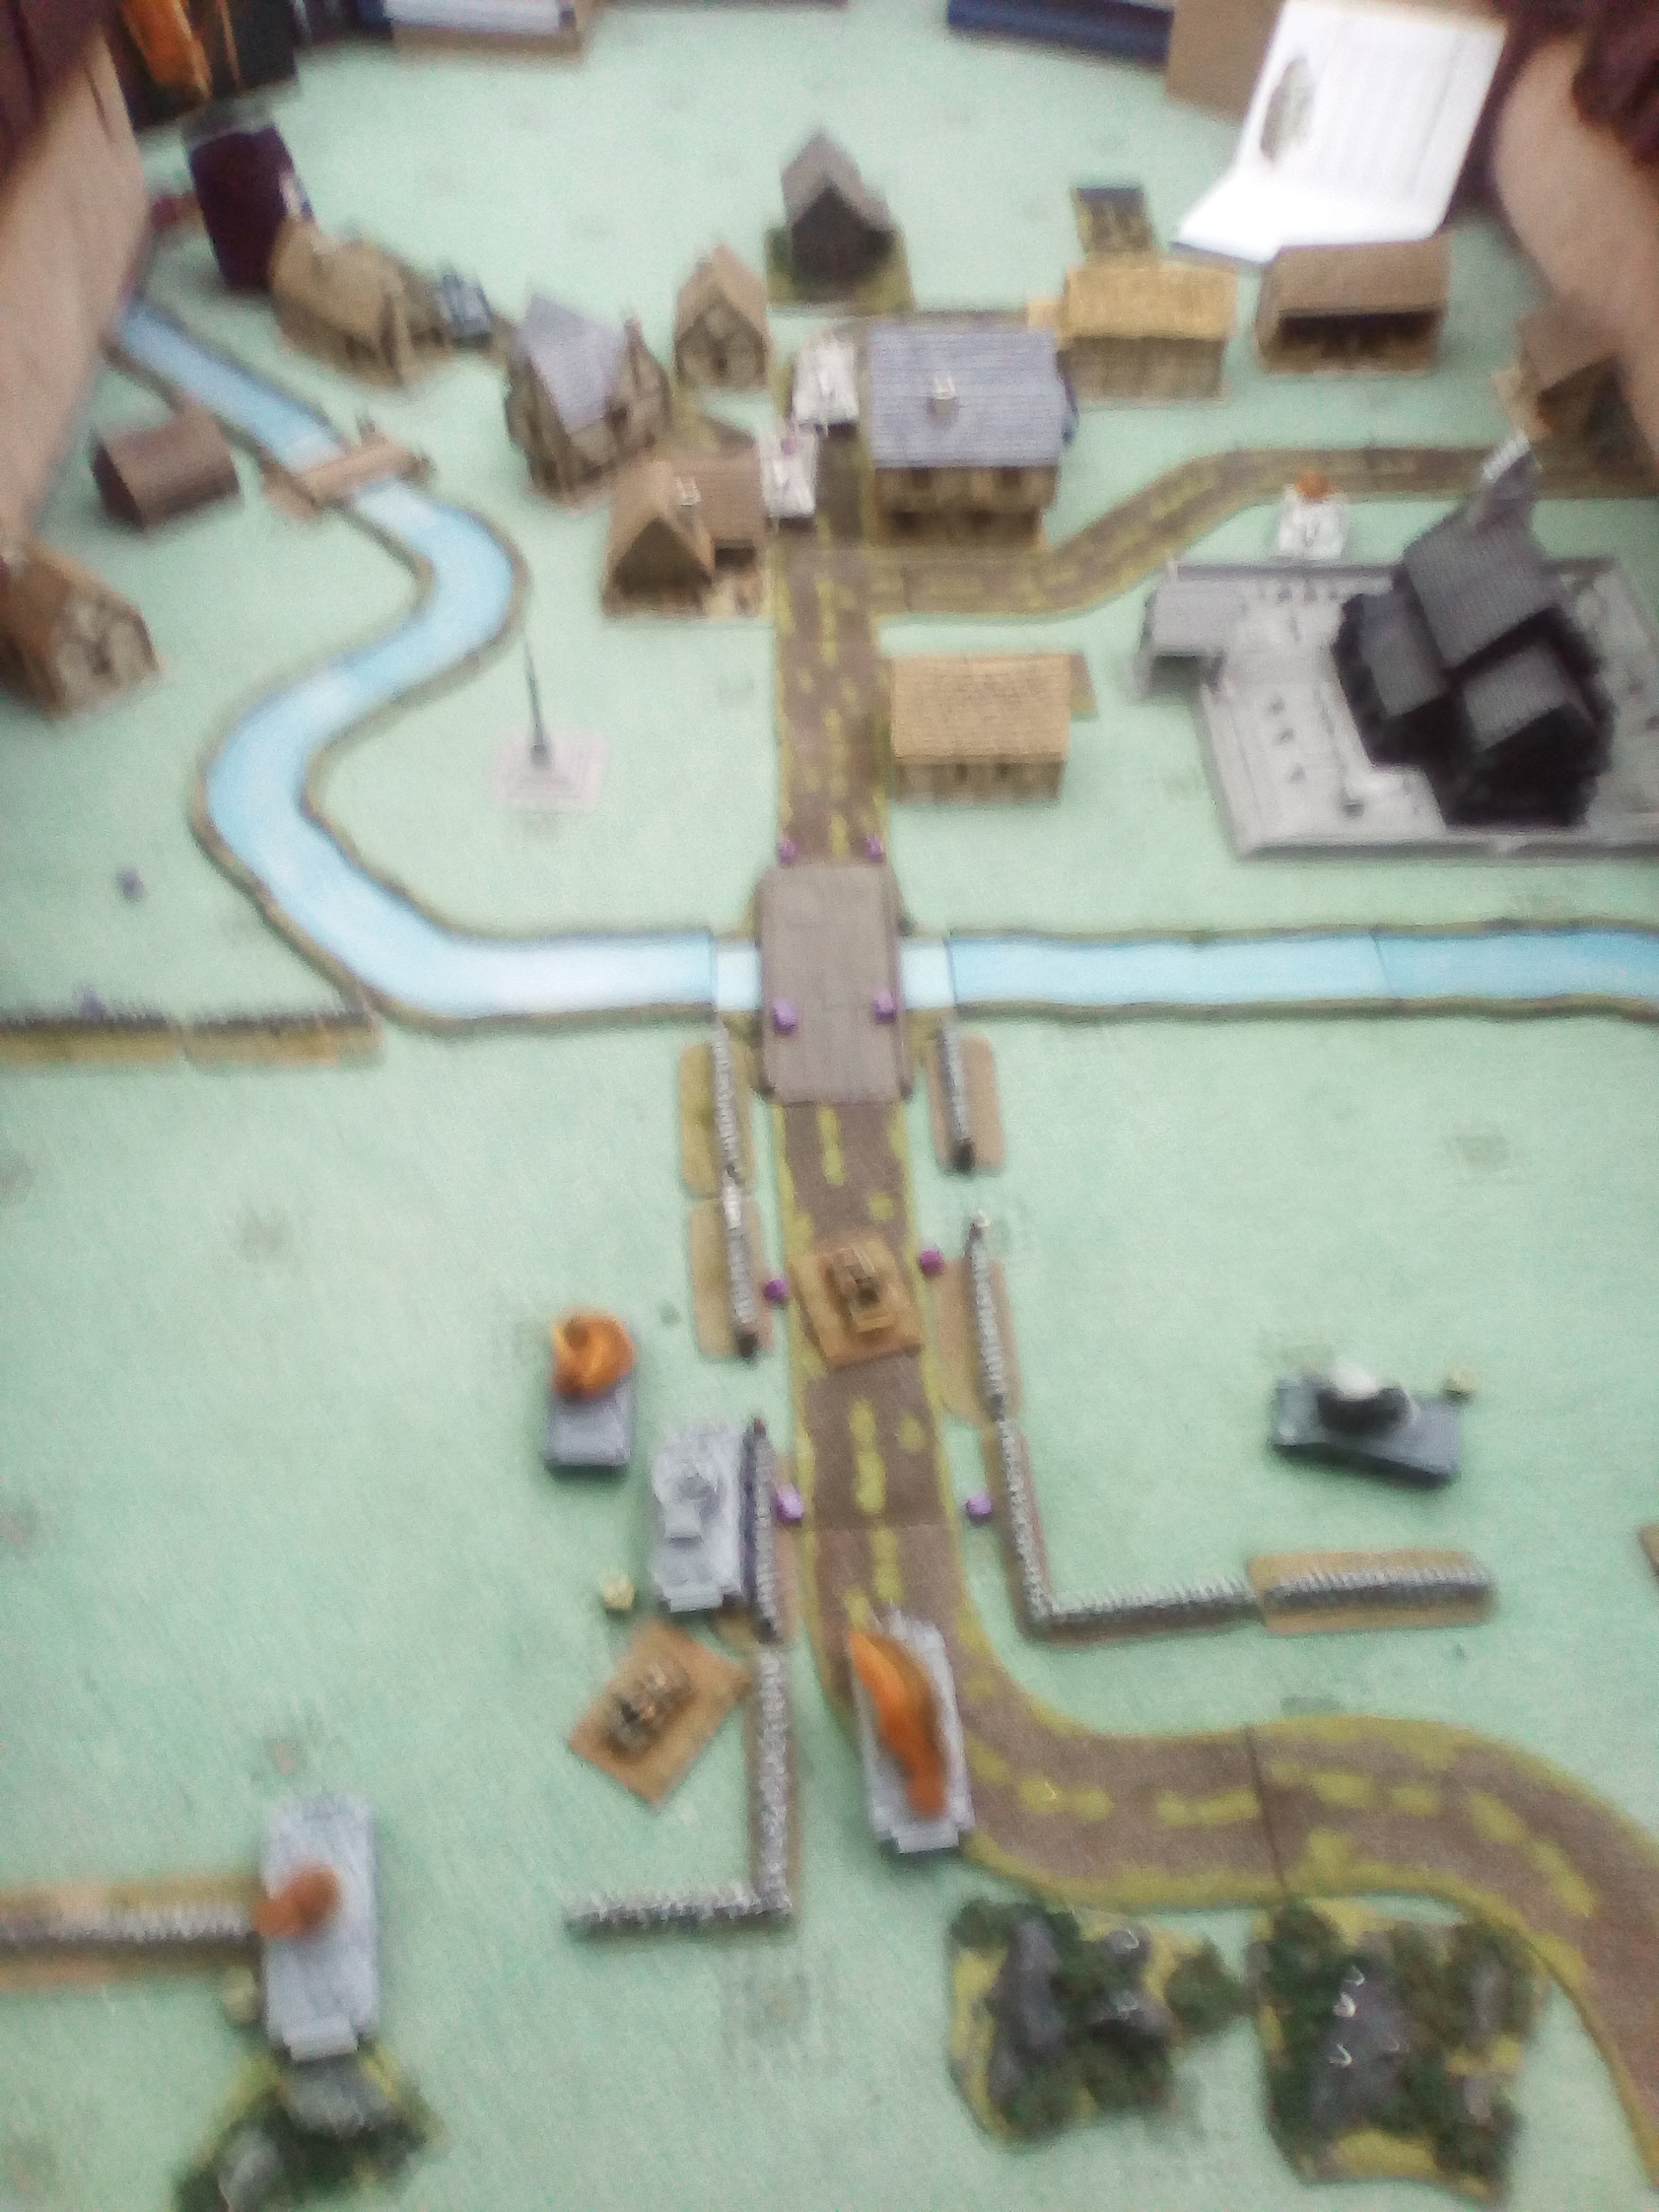
Scenario 5: The First Move Inland; a bloody Tank War battle between the Tank Destroyer Unit and the Scots Highlanders around one of the numerous French small villages near the Allied beach landings.
The village was to be one of the numerous little villages in Normandy near the northern coastline just out with the D-day invasion beaches. The table comprised of a typical village in the southern half of the table which formed a cross-roads for 3 converging roads with one road north towards the beach area. The village was to be contested by the Stug and Jagdpanther battery and the Sherman Firefly and Vs of the Highland Div. The forces were arranged as follows:
Axis forces:
Company Commander: Jadgpanther 420, Lt Willie Schuler, regular, Jagdpanther
Jadgpanther 421: Unterfeldwebel Karl Pritz, regular, Jagdpanther
Stug 422: Unterfeldwebel Gunter Prine, regular, Stug III ausf G. c/w MMG and shurzen side armour.
Stug 423: Unterfeldwebel Herman Wische, regular, Stug III ausf G. c/w MMG and shurzen side armour.
Stug 424: Unterfeldwebel Ludwig Boss, regular, Stug III ausf G. c/w MMG and shurzen side armour.
Highlander forces:
Company Commander: veteran Sherman V medium tank.
1st tank: veteran Sherman V medium tank.
2nd tank: veteran Sherman V medium tank.
3rd tank: veteran Sherman V medium tank.
4th tank: veteran Sherman Firefly medium tank.
Regular Artillery Officer with a regular jeep.
Veteran Artillery Officer and veteran jeep plus one soldier with a rifle.
The opening round had the Axis forces place the Company Commander’s Jagdpanther and Stug 422 on the table, but hidden. The Stug was camouflaged behind the boundary wall to the church. The Jagdpanther was on the central road in the middle of the village. The minefields consisted of 2 dummy ones (located on the bridge and behind the wall to the East flank of the village. The real one was one the approach road to the village.
The opening turn began with the advanced 1st Sherman tank advancing over the dry stone wall from the Northern table edge and shooting wildly at the hidden Stug. Next was the Sherman of the Company Commander which advanced near to its comrade and set to ambush. The Jagdpanther then activated and fired at the Allied CO’s Sherman narrowly missing and clipping the radio aerial but causing no damage. The Stug 422 activated and fired at the 1st Sherman hitting is squarely on the front plate and easily penetrating through to the engine bay, the Allied crew bailed out and abandoned the tank. The next to arrive was the free Allied Artillery Officer in his jeep – he alighted the jeep and immediately called in an Artillery strike on the Jagdpanther.
Turn 2: The initial artillery strike arrived and did not score a direct hit but pinned the CO’s Jagdpanther for 2 pin markers. The second veteran Allied Artillery Officer arrived in his jeep and also alighted and called in a strike on Stug 422. The Axis reinforcements failed to arrive when requested as the road across the village was blocked with debris from Allied aircraft strikes earlier that day. The Allied 2nd Sherman arrived and proceeded to also drive over the dry stone wall and settle near the Allied CO’s tank and the burning shell of 1st Sherman. The Firefly arrived and crossed the battlefield behind the rocky outcrops. The Axis CO’s Jagdpanther tried to fire at the approaching Shermans but failed the Order Test so did nothing. Stug 422 fired and missed the 2nd Sherman. The 3rd Sherman failed to arrive this turn.
Turn 3: The artillery strike on the Stug 422 also arrived and although causing no direct hits shocked the crew enough to apply 2 pin markers. Stug 422 tried to fire but failed for this turn as clearly too shook up by the very near artillery misses. The Firefly advanced and tried to shoot at the Jagdpanther but missed wildly. The 2nd Sherman also tried to hit Stug 422 but also missed. The 3rd Sherman arrived and proceeded to drive along the roadway and fire at the Axis CO’s Jagdpanther and hit but did not penetrate the slopped armour of the Jagdpanther’s front plate. The 4th Sherman arrived and tried to obtain cover behind the far stone wall. Stug 421 arrived and advanced forward at the run. Stug 424 arrived and advancing to cover of the nearby house also fired at approaching Firefly and at a good range easily punched through its front armour causing an impressive explosion also stunning the crew, even after a moment the crew still did not evacuate the stricken Firefly so perished within. The Axis CO’s Jagdpanther fired but missed the Sherman in its sights. Stug 423 arrived and also advanced at the run. The 3rd Sherman arrived and advanced at the run to close the distance.
Turn 4: The remaining Jadgpanther arrived and move up behind the CO’s Jagdpanther glad the artillery strike was over. The CO’s Jagdpanther fired and totally destroyed the 3rd Sherman completely with none of the crew escaping. The 4th Sherman advanced and taking a lucky shot hit the Stug 422 who was using the church wall as partial cover knocking the assault gun out, the crew abandoned the vehicle and escaped. In response Stug 423 fired at the side armour of the 3rd Sherman and punched straight through its side armour to the engine bay destroying the tank and setting it ablaze. At this point the Jagdpanther 421 fired and knocked out the Allied Company Commander’s tank also setting it ablaze, its crew escaped. The Allied veteran advanced at the run through the nearest mine field setting of 3 mines all of which failed to hit the jeep instead applying very significant pin markers which coupled with the effect of Tiger Fear has immobilised them. The other Jagdpanther fired an missed the last Sherman.
Turn 5: The last Sherman advanced across the open field and fired at Stug 424 hitting is squarely in the front plate knocking it out, but the crew escaped down the road and off the table. The CO’s Jagdpanther failed its Orders test and so did nothing this turn. The other Jagdpanther fired but only caused a glancing blow to the Sherman’s side armour stunning the crew. Then Stug 423 fired and hit the last Sherman squarely on the side armour and penetrating through the engine bay knocking it out.
Turn 6: The CO’s Jagdpanther fired at the last jeep and caused the fuel tank to catch fire, which the crew extinguished. Stug 423 fired at the jeep and hit, destroying it and the Artillery Obs within as well.
Overall, the British Highland Division was initially delayed in its assault by waiting for the preceding artillery strike which didn’t materialise, then by the presence of the minefields. Once momentum was achieved they attacked with vigour and managed to knock out two partially obscured Stugs but at the overall cost of 5 Sherman tanks, 2 Jeeps and 2 Artillery Obs.